
 |
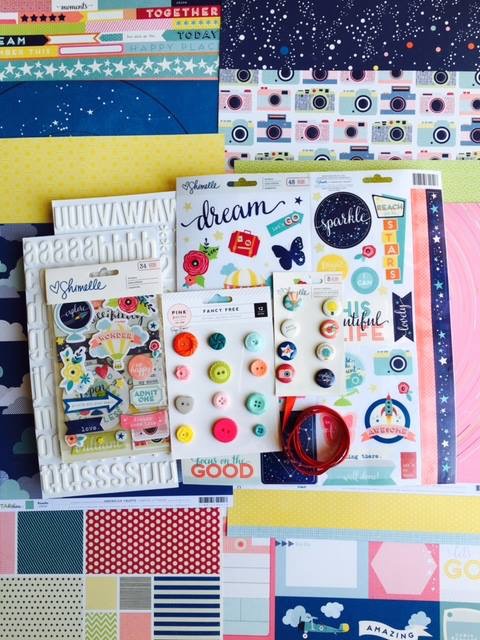
| My Creative Scrapbook September 2016 Creative Kit |

Here we go:
Begin with a 12X12 inch piece of white of card stock. This will be used for the background to build the layout on.
Cut the blue star paper 7 1/2 inches long by 6 inches wide and adhere to the white cardstock background.


Cut the six squares of patterned paper from the paper sheet that has rectangle and square patterned papers and adhere to the blue diagonal stripe paper as shown below. Add the strip of scalloped striped paper and adhere as shown below.

Add the yellow stripe chipboard frame and place it over the patterned paper squares as shown below. Add the "adventure is waiting" chipboard square inside of the yellow stripe chipboard frame. Adhere.
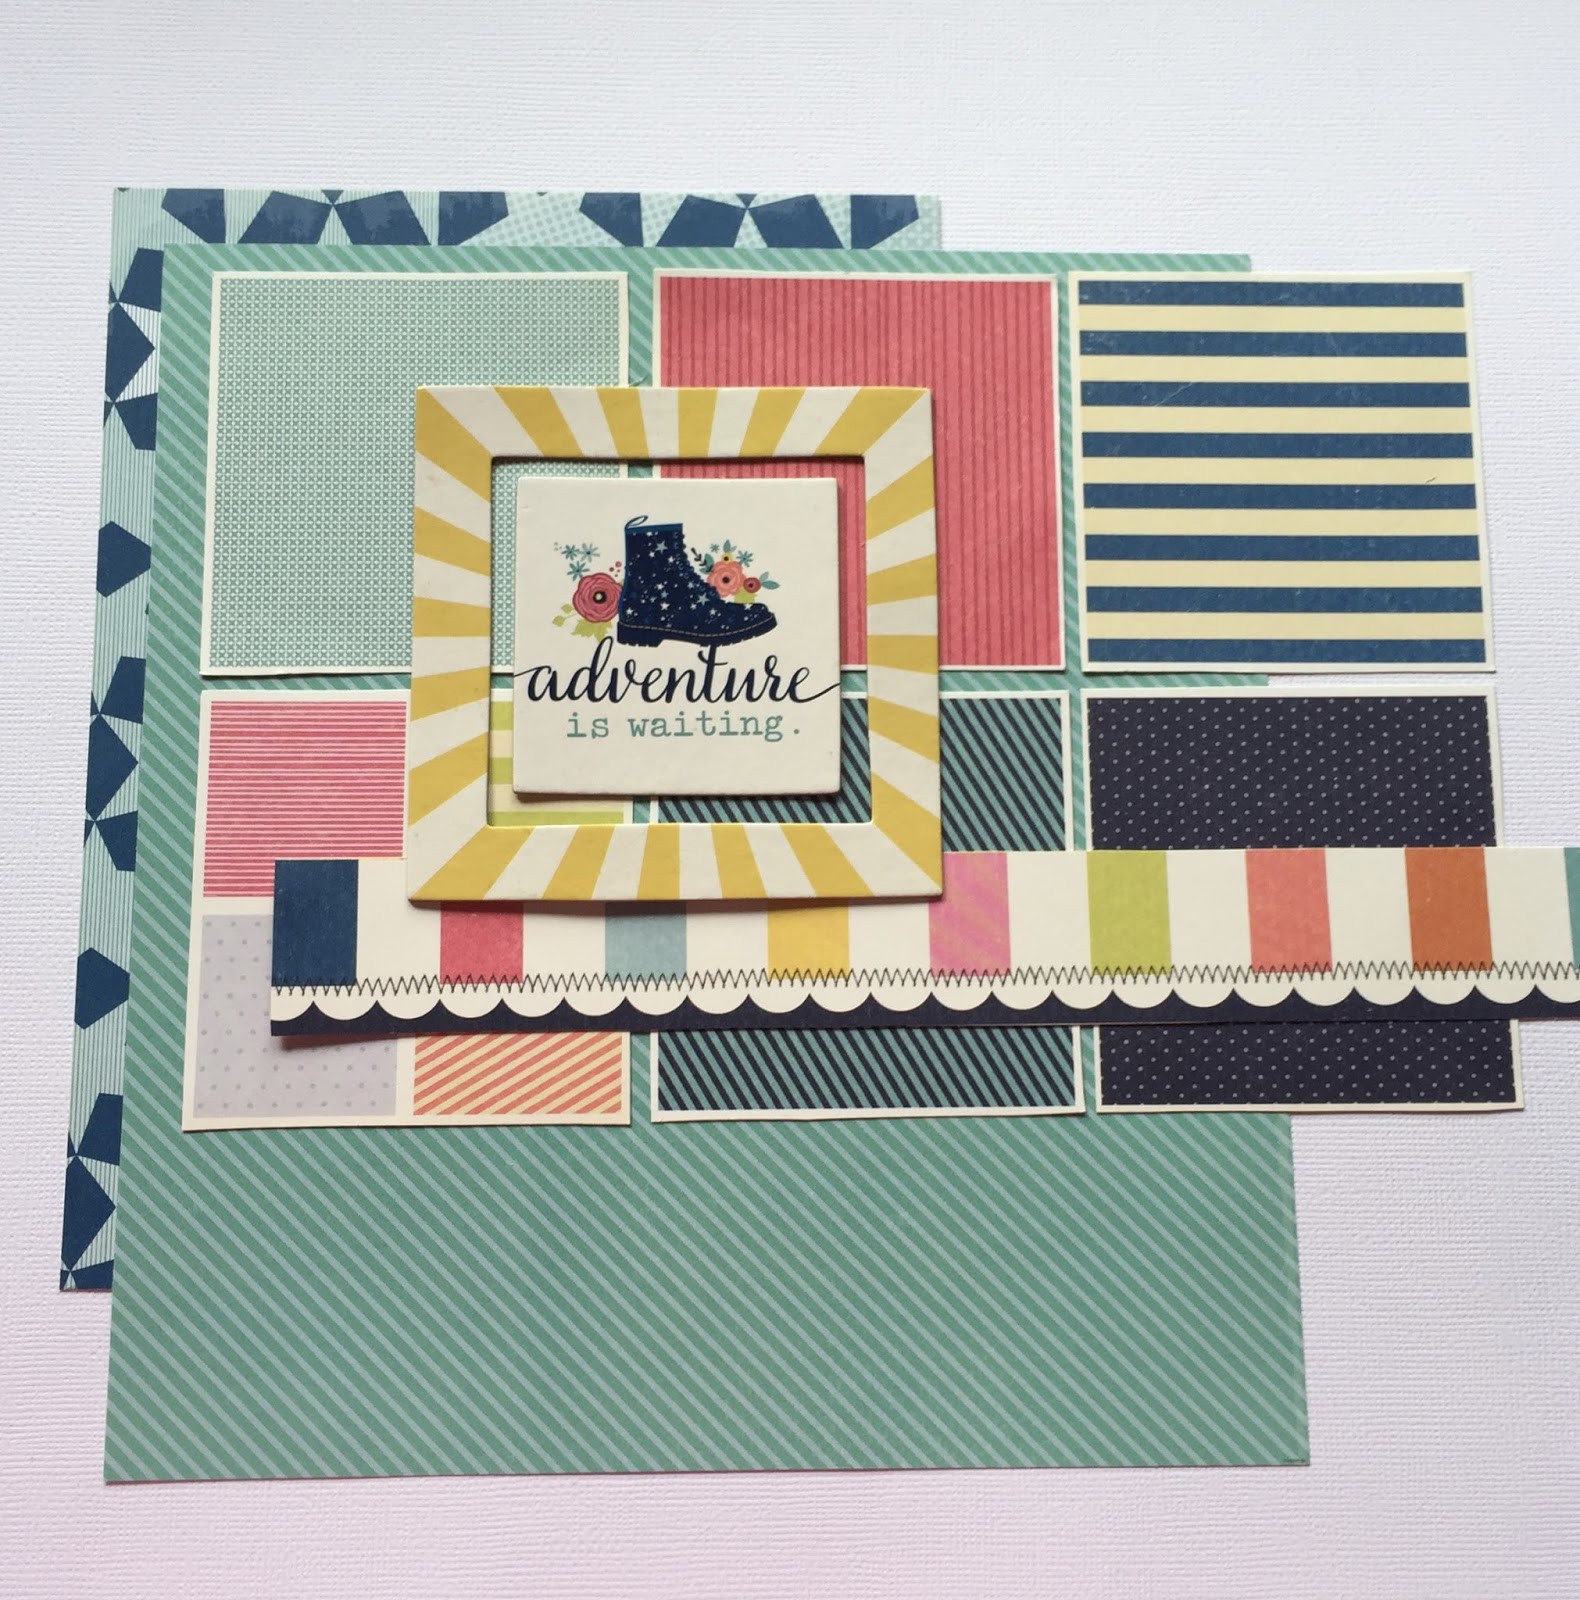
Mat a 3 X 4 photo with the yellow paper and adhere to the right of the yellow stripe chipboard frame.

Add the balloon flair button to the bottom right corner of the photo as shown below.

Adhere the green "brilliant" chipboard die cut to the bottom of the photo. Be sure to center it before sticking it down onto the photo.

Adhere the pink tab to the right of the photo and also the "blue love" chipboard banner and grey heart button as shown.

Fussy cut the "the sky's the limit" paper and adhere below the navy polka dot square patterned paper as shown. Adhere the yellow button to the left of the paper.

Add the star flower flair button to on top of the yellow stripe chipboard frame and adhere.

Add the "make a wish" chipboard above the star paper. Adhere the turquoise button to the left of the chipboard.

Add the chipboard "go with all your heart" arrow to the bottom of the striped yellow chipboard frame directing the eye to the photo.

Add the three small chipboard stars to the top right side of the layout as shown on the layout.

Adhere the small chipboard star circle and the white foam alphas as shown on the layout.

Add the "dream" diecut to the left of the title "big". Adhere the pink chipboard "dreams come true" piece above the "dream" diecut.

To complete the layout, I added the year on the pink tab to the right of the photo with a black fine pen, and also typed out my journaling on a white piece of card stock and adhered it to the blue diagonal striped paper.
I hope you enjoyed this tutorial. This layout of my daughter was inspired by the September Sketch at My Creative Sketches, which is the sketch site for My Creative Scrapbook. If you play along with the sketch and link up your layout at My Creative Sketches, you have a chance to win a fabulous prize. The deadline is October 14 (EST midnight) to link up and the random draw for the winner will be announced October 15.

Have fun!
No comments:
Post a Comment